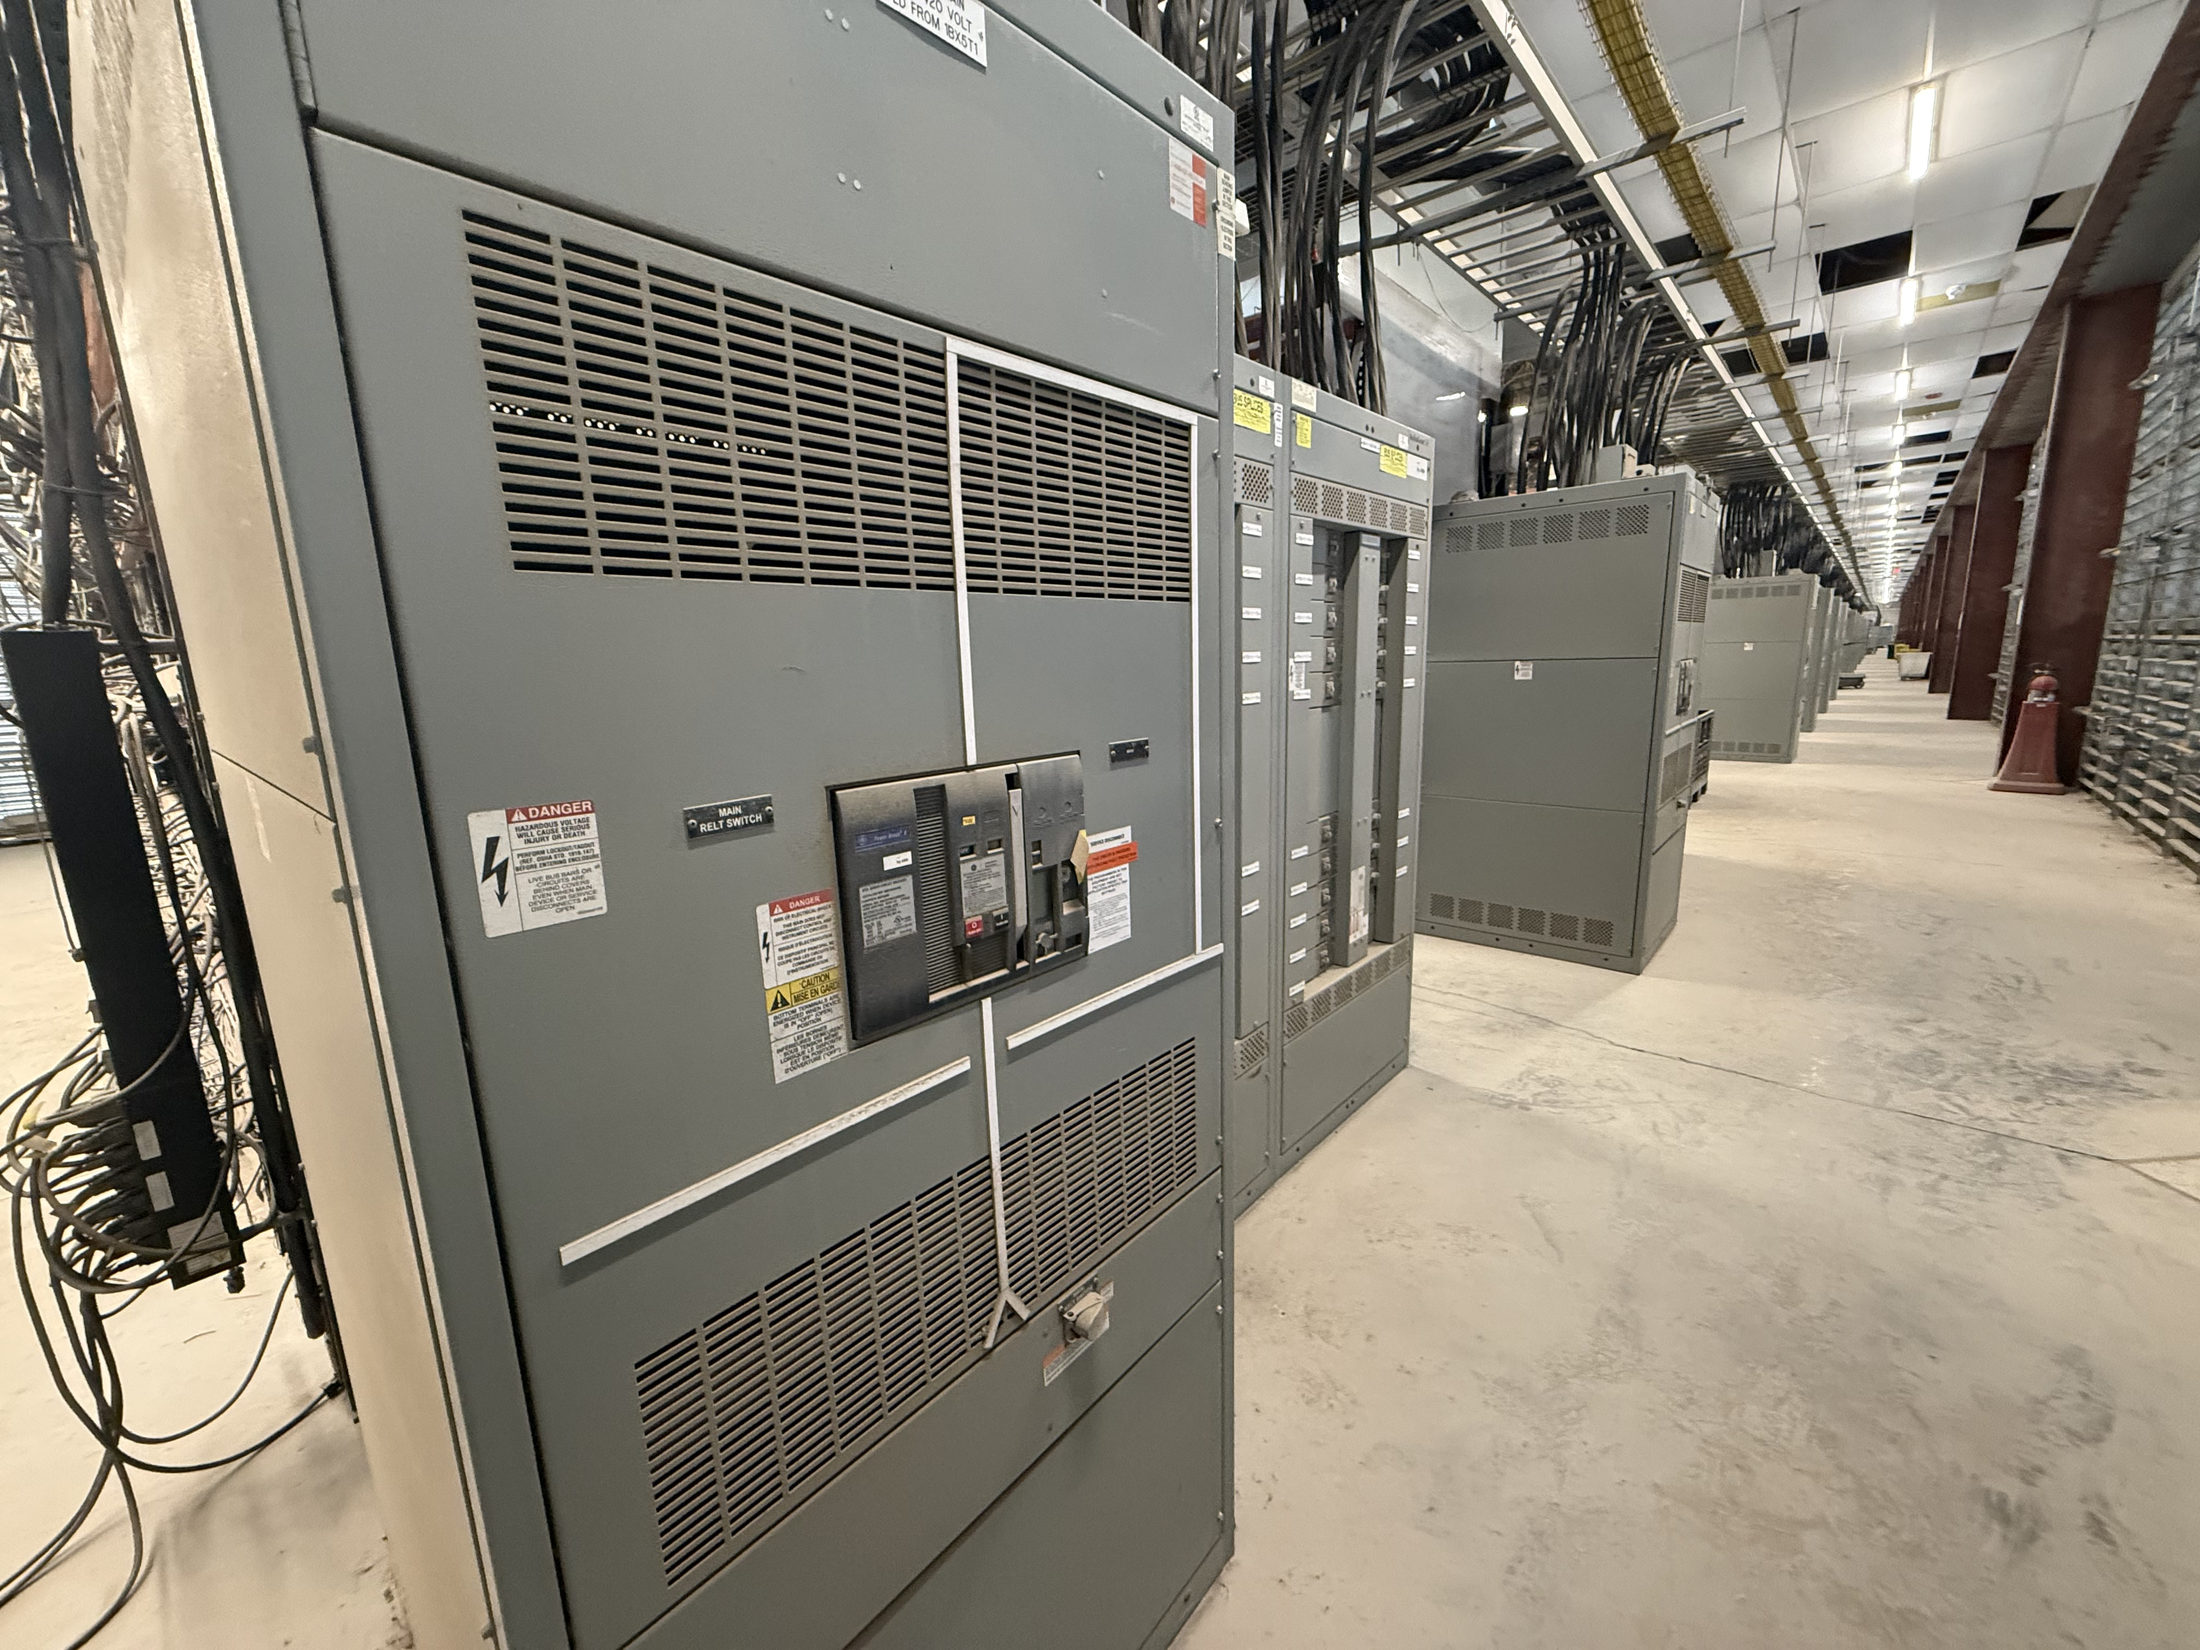
Busbar Forming Is Part of the Electrical Design
Busbar bending and forming shape how conductors pass through a switchgear assembly, connect to devices, and maintain separation from grounded or adjacent parts. A bend is not merely a fabrication detail: its location and geometry affect connection access, phase spacing, support placement, and fit within the intended enclosure. For new switchgear, forming decisions should follow the approved electrical and mechanical design rather than be set by a shop preference alone.
The useful starting point is the actual assembly configuration and the interfaces the bus must reach. Identify incoming and outgoing connection points, device terminals, splice locations, barriers, supports, and access needs. Then review the bus material and dimensions specified for the design. Qualified electrical professionals should confirm the design and applicable requirements; no bend shape or clearance is suitable in isolation from its equipment and project.
Define Bend Geometry Before Fabrication
A formed bus needs geometry that matches its route and connection points. Project drawings should show bend direction, bend locations, offsets, orientation, finished dimensions, and the relationship of each leg to the assembly datum. Bend radius and forming method must be evaluated for the selected material, thickness, width, and design requirements. Tight or compound bends can change the available contact area or create interference, so they merit review before a fabrication detail is released.
Dimensional callouts should make clear whether measurements refer to the inside, outside, or centerline of a bend, and how straight sections are measured. That convention helps prevent mismatches between design, forming, and assembly. Where a bus transitions in more than one plane, include views or other unambiguous geometry information. Do not infer dimensions from a schematic, a photograph, or a nominal equipment outline when an interface drawing is needed.
Check Clearances in the Complete Assembly
Clearance review must account for the bus in its installed position, not just the flat pattern or an isolated formed part. Check spacing between phases, between bus and grounded metal, and around barriers, insulators, fasteners, and device terminals. Also consider joints and hardware that project beyond the conductor surface. Applicable spacing requirements depend on the design, voltage, insulation approach, construction, and governing standards; they must be established for the specific assembly rather than assumed from a general rule.
A practical design review considers the full tolerance stack: bus dimensions, forming variation, support location, enclosure geometry, and connection alignment. Confirm that the route leaves room for assembly and inspection while preserving required separation. If a change in bend position or orientation is proposed to resolve interference, recheck neighboring phases, supports, barriers, and access. Any revised clearance or layout should be reviewed by the responsible electrical design professional before production proceeds.
Coordinate Terminals, Joints, and Supports
Bus ends must meet their intended interfaces without forcing the conductor into position. Coordinate hole patterns, terminal-pad dimensions, joint faces, device terminal orientation, and any specified plating or surface treatment. Confirm which dimensions are controlled by the equipment design and which are supplied by connected components. Misalignment can complicate assembly and place unwanted mechanical stress on a joint; enlarging holes or bending a bus in the field should not be treated as an automatic remedy.
Support locations and attachment details belong in the same coordination review as bend geometry. A long offset, a change in direction, or a connection near a support can affect how the bus is restrained and how loads are transferred through the assembly. Identify support interfaces and hardware on the design documents, then verify fit with the enclosure and adjacent components. Final choices depend on the assembly design and must be reviewed by qualified personnel.
Use Clear Inputs and Controlled Revisions
A useful release package includes the equipment configuration, conductor material and specified dimensions, connection-point data, bus routing drawings, bend details, required clearances, support locations, and relevant interface documents. Include the project’s applicable standards and any design criteria that govern the assembly. Mark revision status clearly and identify the party responsible for approving geometry. If a mating device or enclosure detail is not yet fixed, flag it as an open input instead of allowing fabrication to proceed from an unverified assumption.
For busbar manufacturing and assembly, revision control matters because a small change to a terminal position can affect several formed pieces and their clearances. Record design questions, approved deviations, and drawing updates in the project process. Before release, reconcile the latest drawings with the bill of materials and connection details. This makes procurement and fabrication review more predictable while reducing the chance that parts are formed to superseded or incomplete information.
Verify Fit and Interfaces During Assembly
Assembly checks should compare formed bus dimensions and orientation with the released design and confirm that parts seat naturally at their intended supports and connection interfaces. Review phase arrangement, separation, barrier fit, hardware access, and alignment at joints. Any inspection, measurement, or electrical testing should follow the project’s approved procedures and applicable requirements. The specific checks depend on the equipment and design; a visual fit review alone does not establish electrical performance or compliance.
If a part does not align, pause and determine whether the cause is a drawing issue, a formed dimension, a support position, or a mating component. Document the condition and obtain design review before changing the bus or hardware. Unreviewed adjustment can affect clearances, contact surfaces, and the approved configuration. Testing and acceptance criteria should be defined by the project team and relevant authorities, not inferred from the fact that a bus fits inside an enclosure.
Prepare a Complete Request for New Switchgear
When requesting new switchgear with formed bus, provide the one-line diagram, equipment arrangement, connection schedules, available terminal and enclosure drawings, and the project’s required electrical characteristics. State what is fixed and what remains open, including interface ownership and approval responsibilities. Ask the manufacturer to review bend geometry, clearances, and alignment against the proposed assembly design, and identify any missing information that could affect fabrication. UL 891 may apply to suitable switchboard assemblies; applicability and other standards must be confirmed for the specific equipment.
The manufacturer builds in the USA using all-American components and can develop custom assemblies to specification, with nationwide shipping. Lead time is determined by project scope and the completeness of approved design inputs. A practical next step is to submit current drawings and flag critical connection dates, mating equipment dependencies, and required review milestones. Confirm the final configuration, applicable requirements, and shipping coordination before authorizing production, so the formed bus is designed for the actual assembly rather than a generic layout.
Project specification checklist
Use this checklist to organize the details for a project-specific review. Final ratings, applicable standards and equipment selections depend on the approved design.
| Item | What to confirm |
|---|---|
| Conductor definition | Confirm specified material, width, thickness, temper or other design requirements, and any surface treatment. |
| Bend geometry | Provide bend locations, directions, dimensions, radius criteria, orientation, and a clear measurement convention. |
| Clearance basis | Identify required phase-to-phase and phase-to-ground separation and the project criteria governing those values. |
| Connection interfaces | Confirm terminal locations, joint faces, hole patterns, mating-device details, and ownership of interface dimensions. |
| Supports and assembly | Show support positions, barriers, enclosure references, hardware envelopes, and any access constraints. |
| Release and verification | Agree on drawing approval, revision control, fit checks, and project-specific inspection or testing requirements. |