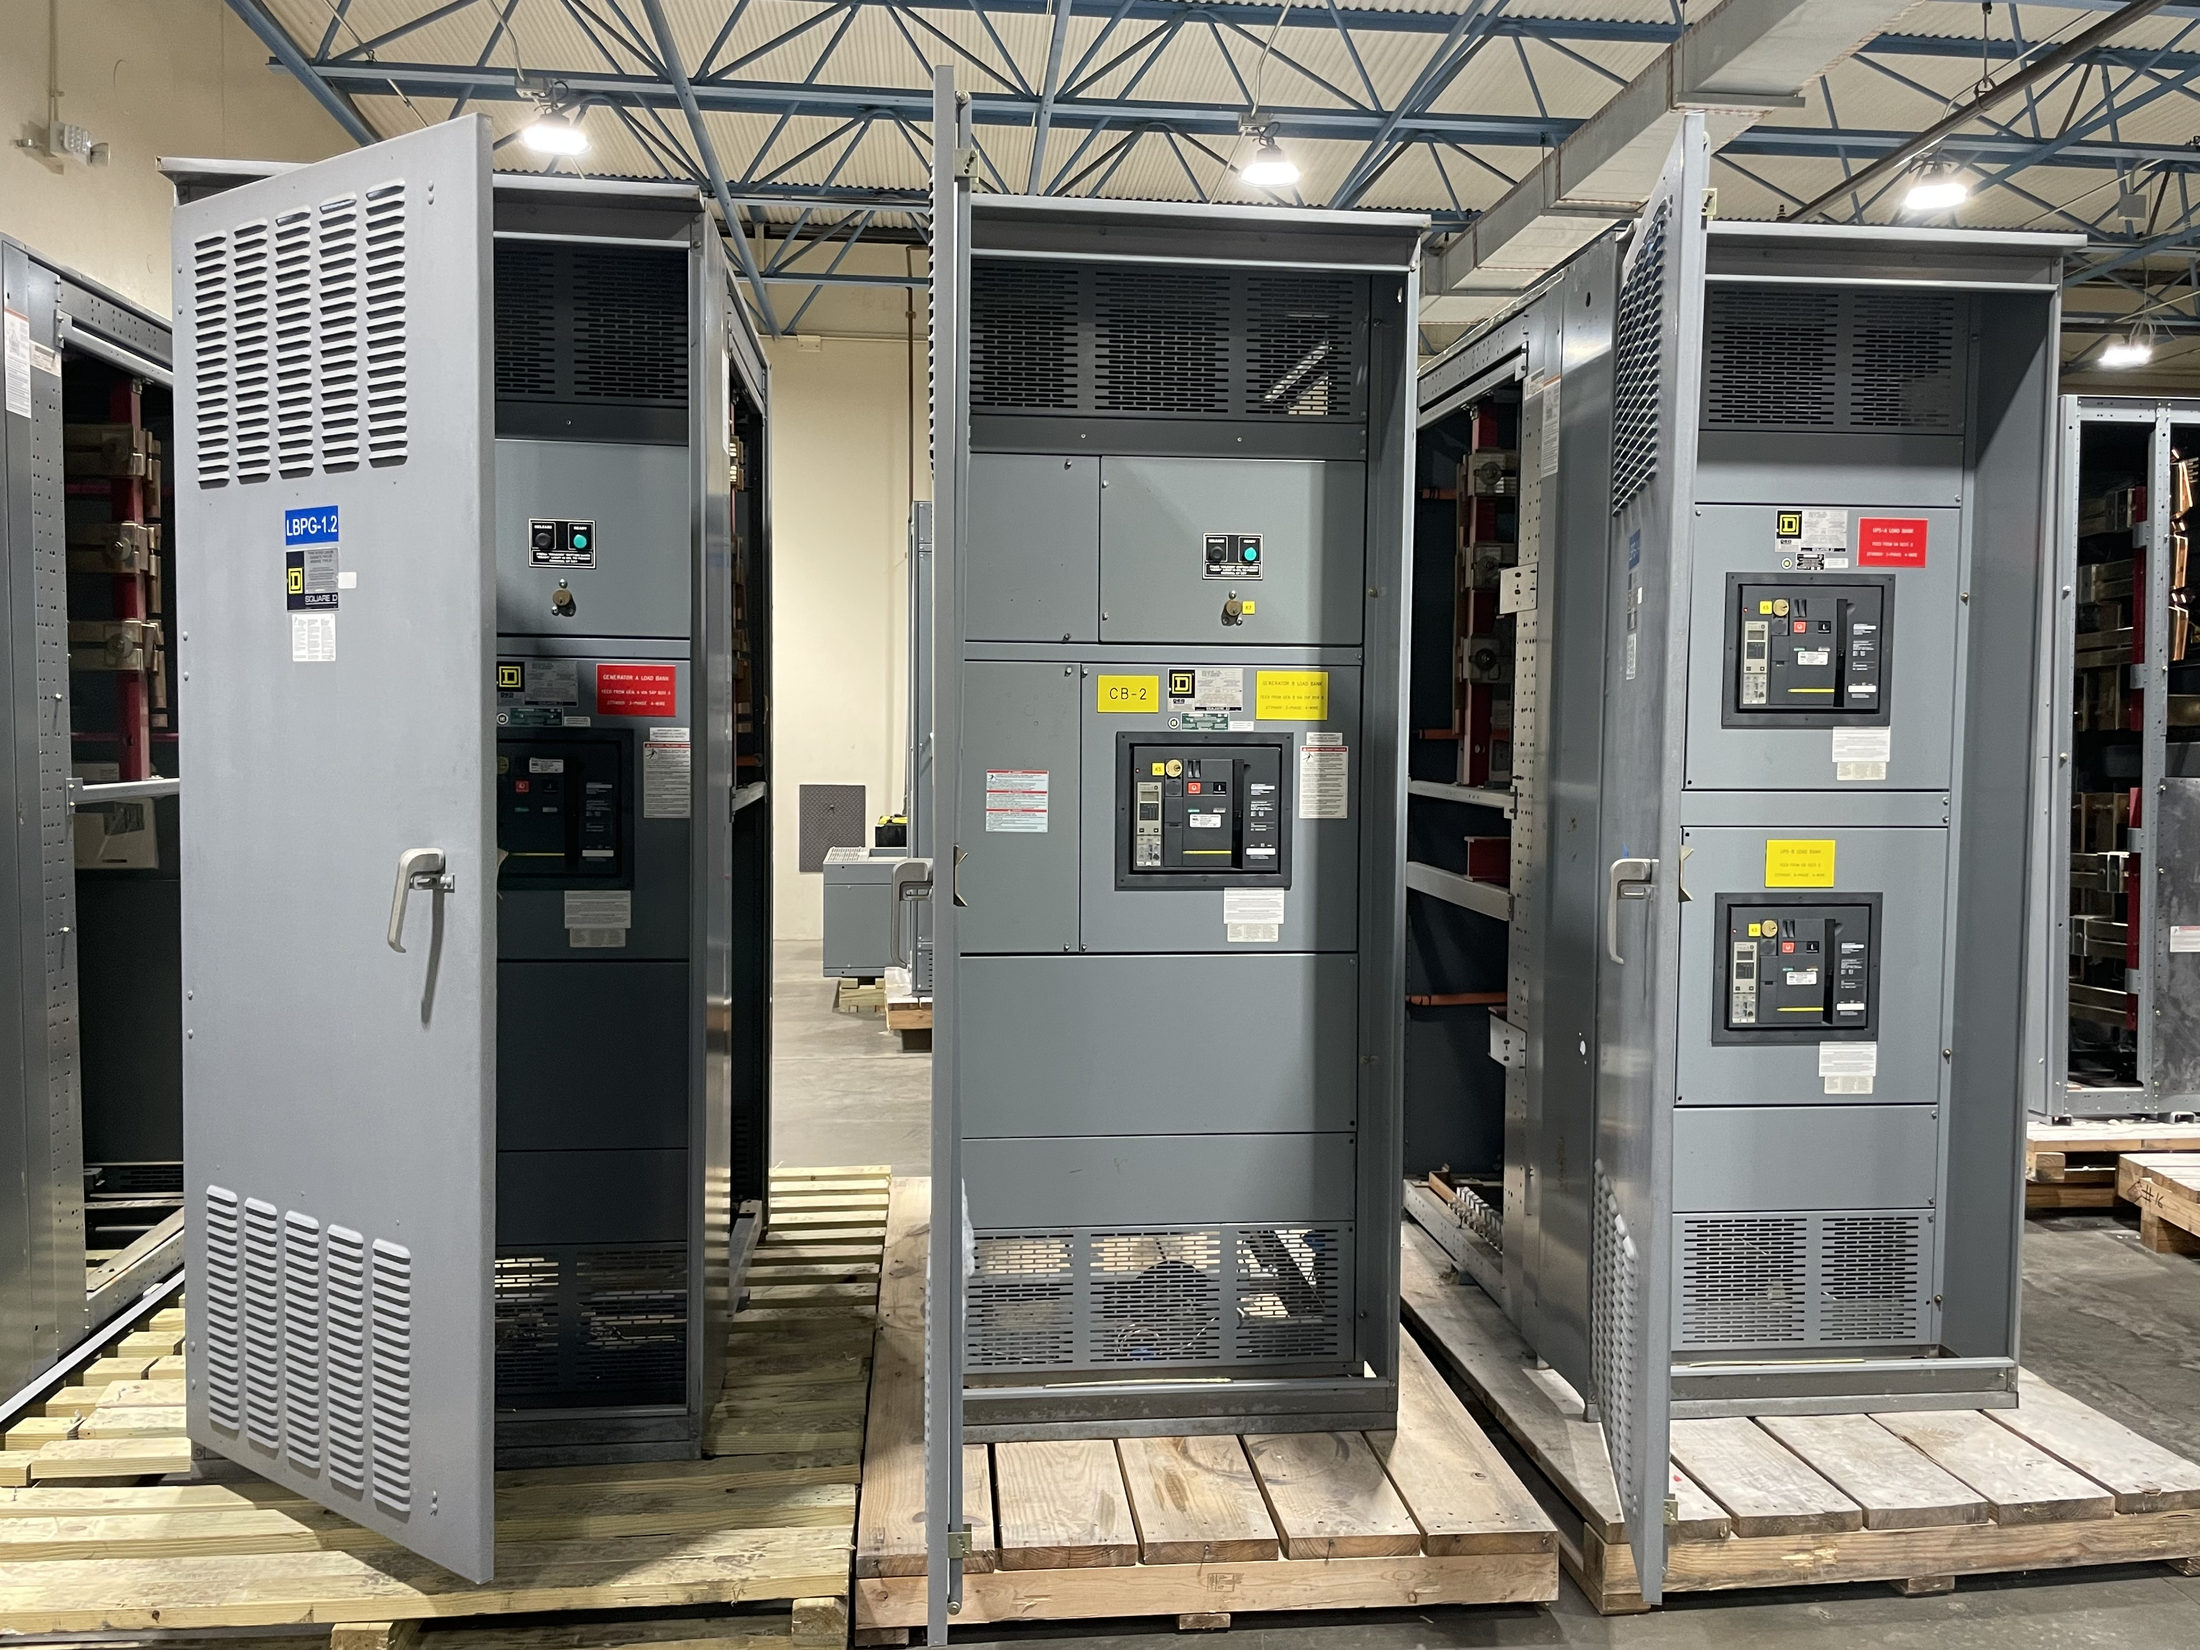
Route Busway Around the Building and Its Loads
A busway route is more than a line between a power source and a load. For facilities in Austin and Central Texas, early planning should show the source equipment, distribution path, takeoff locations, and final connection points in relation to the building structure and other services. Straight runs, turns, offsets, risers, and transitions all affect the assembly and its installation sequence. The route should be developed from current architectural and electrical information, not a conceptual floor plan alone.
Confirm the system’s intended use, electrical characteristics, load profile, fault-duty requirements, environment, and connection arrangement with the design team. Those inputs guide product selection and must be checked against the equipment design and applicable project requirements. Coordinate the busway with new switchgear at the source, including termination orientation, available connection space, and any transition pieces. Do not presume a particular voltage, current rating, enclosure, or short-circuit capability before qualified professionals review the application.
Set Support Locations From Structure and Assembly Details
Support planning must account for the busway manufacturer’s assembly instructions, run geometry, building structure, and expected loads. Structural framing, ceiling conditions, equipment rooms, and access constraints may limit where supports can be attached. Show proposed support points on coordinated drawings and have the responsible design professionals verify both the support method and the receiving structure. Avoid treating a generic support interval as suitable for every busway configuration; requirements depend on the selected system and project conditions.
Identify who provides the supports, attachment hardware, and structural provisions, and document those interfaces before procurement. Check for conflicts with piping, ductwork, cable trays, lighting, and future service access. Where the route changes direction, crosses a building joint, or connects to equipment, confirm the required support arrangement against the manufacturer’s project-specific information. Clear responsibility at these interfaces helps prevent field changes that could affect alignment, access, or the intended installation sequence.
Coordinate Wall, Floor, and Rated-Assembly Penetrations
Every wall or floor crossing needs coordinated opening dimensions, location, and installation responsibility. Establish whether a penetration passes through a fire-resistance-rated assembly, a weather boundary, a controlled environment, or another regulated barrier. The opening and any sealing or firestopping system must suit the actual construction and applicable design requirements; busway dimensions alone do not determine an acceptable penetration detail. Coordinate with architectural, structural, fire-protection, and electrical documents before openings are formed.
Confirm whether the busway can be assembled through the planned opening or must be installed in sections, and account for couplings, flanges, and access needed to complete the connection. Document required clearances and the proposed sealing approach for review by the responsible professionals and authorities. Do not assume a standard sleeve or field-applied seal is appropriate for every assembly. Resolving penetration details early can reduce rework and preserve both the building assembly’s intended performance and busway accessibility.
Allow for Building Movement and Thermal Expansion
Long runs and routes crossing structural or building expansion joints need specific review for movement. Confirm the location and direction of anticipated building movement with the project’s structural information, then determine whether the selected busway design requires an expansion provision or another arrangement. Thermal conditions and operating duty may also influence the design. The acceptable solution depends on the system and installation; a joint should not be added, omitted, or positioned solely by rule of thumb.
Coordinate expansion provisions with supports, equipment terminations, penetrations, and adjacent conductors or services. Verify that the layout leaves the movement range and access required by the approved design, while avoiding loads transferred into switchgear or other connected equipment. Record the applicable manufacturer’s instructions and the design team’s assumptions in the submittal review. If building geometry, equipment position, or operating conditions change, revisit the route and movement details before releasing the assembly for production.
Preserve Access for Connections, Inspection, and Maintenance
A route that fits on a drawing may still be difficult to install or service. Review working and removal space around busway joints, plug-in or tap-off locations if included, end connections, and transitions. Confirm the exact product features, clearances, and access method for the selected assembly rather than assuming that all busway systems use the same arrangement. Keep access paths compatible with doors, removable panels, ceilings, and other equipment, and consider how personnel can reach inspection points without obstructing normal building functions.
Coordinate clear identification of source, destination, phases, and circuit function with project documentation. Before installation, compare approved shop drawings with field conditions, supports, opening locations, and connection dimensions. Testing, inspection, and commissioning steps should follow the applicable product instructions and project requirements, performed by qualified personnel; never treat an energized-work procedure as a routing or access solution. Record approved deviations and confirm that they do not compromise clearances, joints, or required access.
Turn Design Inputs Into a Coordinated Procurement Package
For a useful quotation and submittal review, provide route drawings or models, source and load details, electrical requirements, environmental conditions, structural information, penetration schedules, and known building movement locations. Identify the required transitions, terminations, supports, access features, and interfaces with new switchgear. State which design assumptions remain open and who will verify them. The manufacturer builds new equipment in the USA using all-American components, offers custom assemblies to specification, and can ship nationwide; project timing and assembly suitability are confirmed during review.
Next, request a route-specific equipment proposal and drawings for coordination before release. Have the electrical and structural design professionals review ratings, connections, supports, movement provisions, penetrations, and clearances, with applicable authorities involved as required. UL 891 applies to suitable switchboards and should not be presumed to cover a busway system; applicable standards and any required evaluation depend on the design and project. Short lead times may be possible, but timing is project-dependent. Resolve open interfaces and field dimensions before approving fabrication documents.
Project specification checklist
Use this checklist to organize the details for a project-specific review. Final ratings, applicable standards and equipment selections depend on the approved design.
| Item | What to confirm |
|---|---|
| Electrical application | Confirm source, load, operating conditions, electrical characteristics, and required fault-duty performance for the specific project. |
| Route and connections | Document run geometry, turns, transitions, terminations, takeoff locations, and interfaces with switchgear and loads. |
| Supports and structure | Verify support design, attachment locations, structural capacity, and responsibility against the selected assembly instructions. |
| Penetrations and movement | Coordinate opening dimensions, rated or weather barriers, sealing details, building joints, and any required expansion provisions. |
| Access and review | Confirm installation, inspection, and service clearances, plus drawing reviews, testing expectations, and applicable project requirements. |